
PAPER STRUCTURES
Thoughts on Building Structures with Paper
I learned a technique from Jon Addison at the Fine Scale Expo some years ago to make awesome structures from paper. It turns out the process is simple, cheap, and gets excellent results (in O and HO scale, anyway.
The basic techniques are simple, but you need a few reusable supplies.
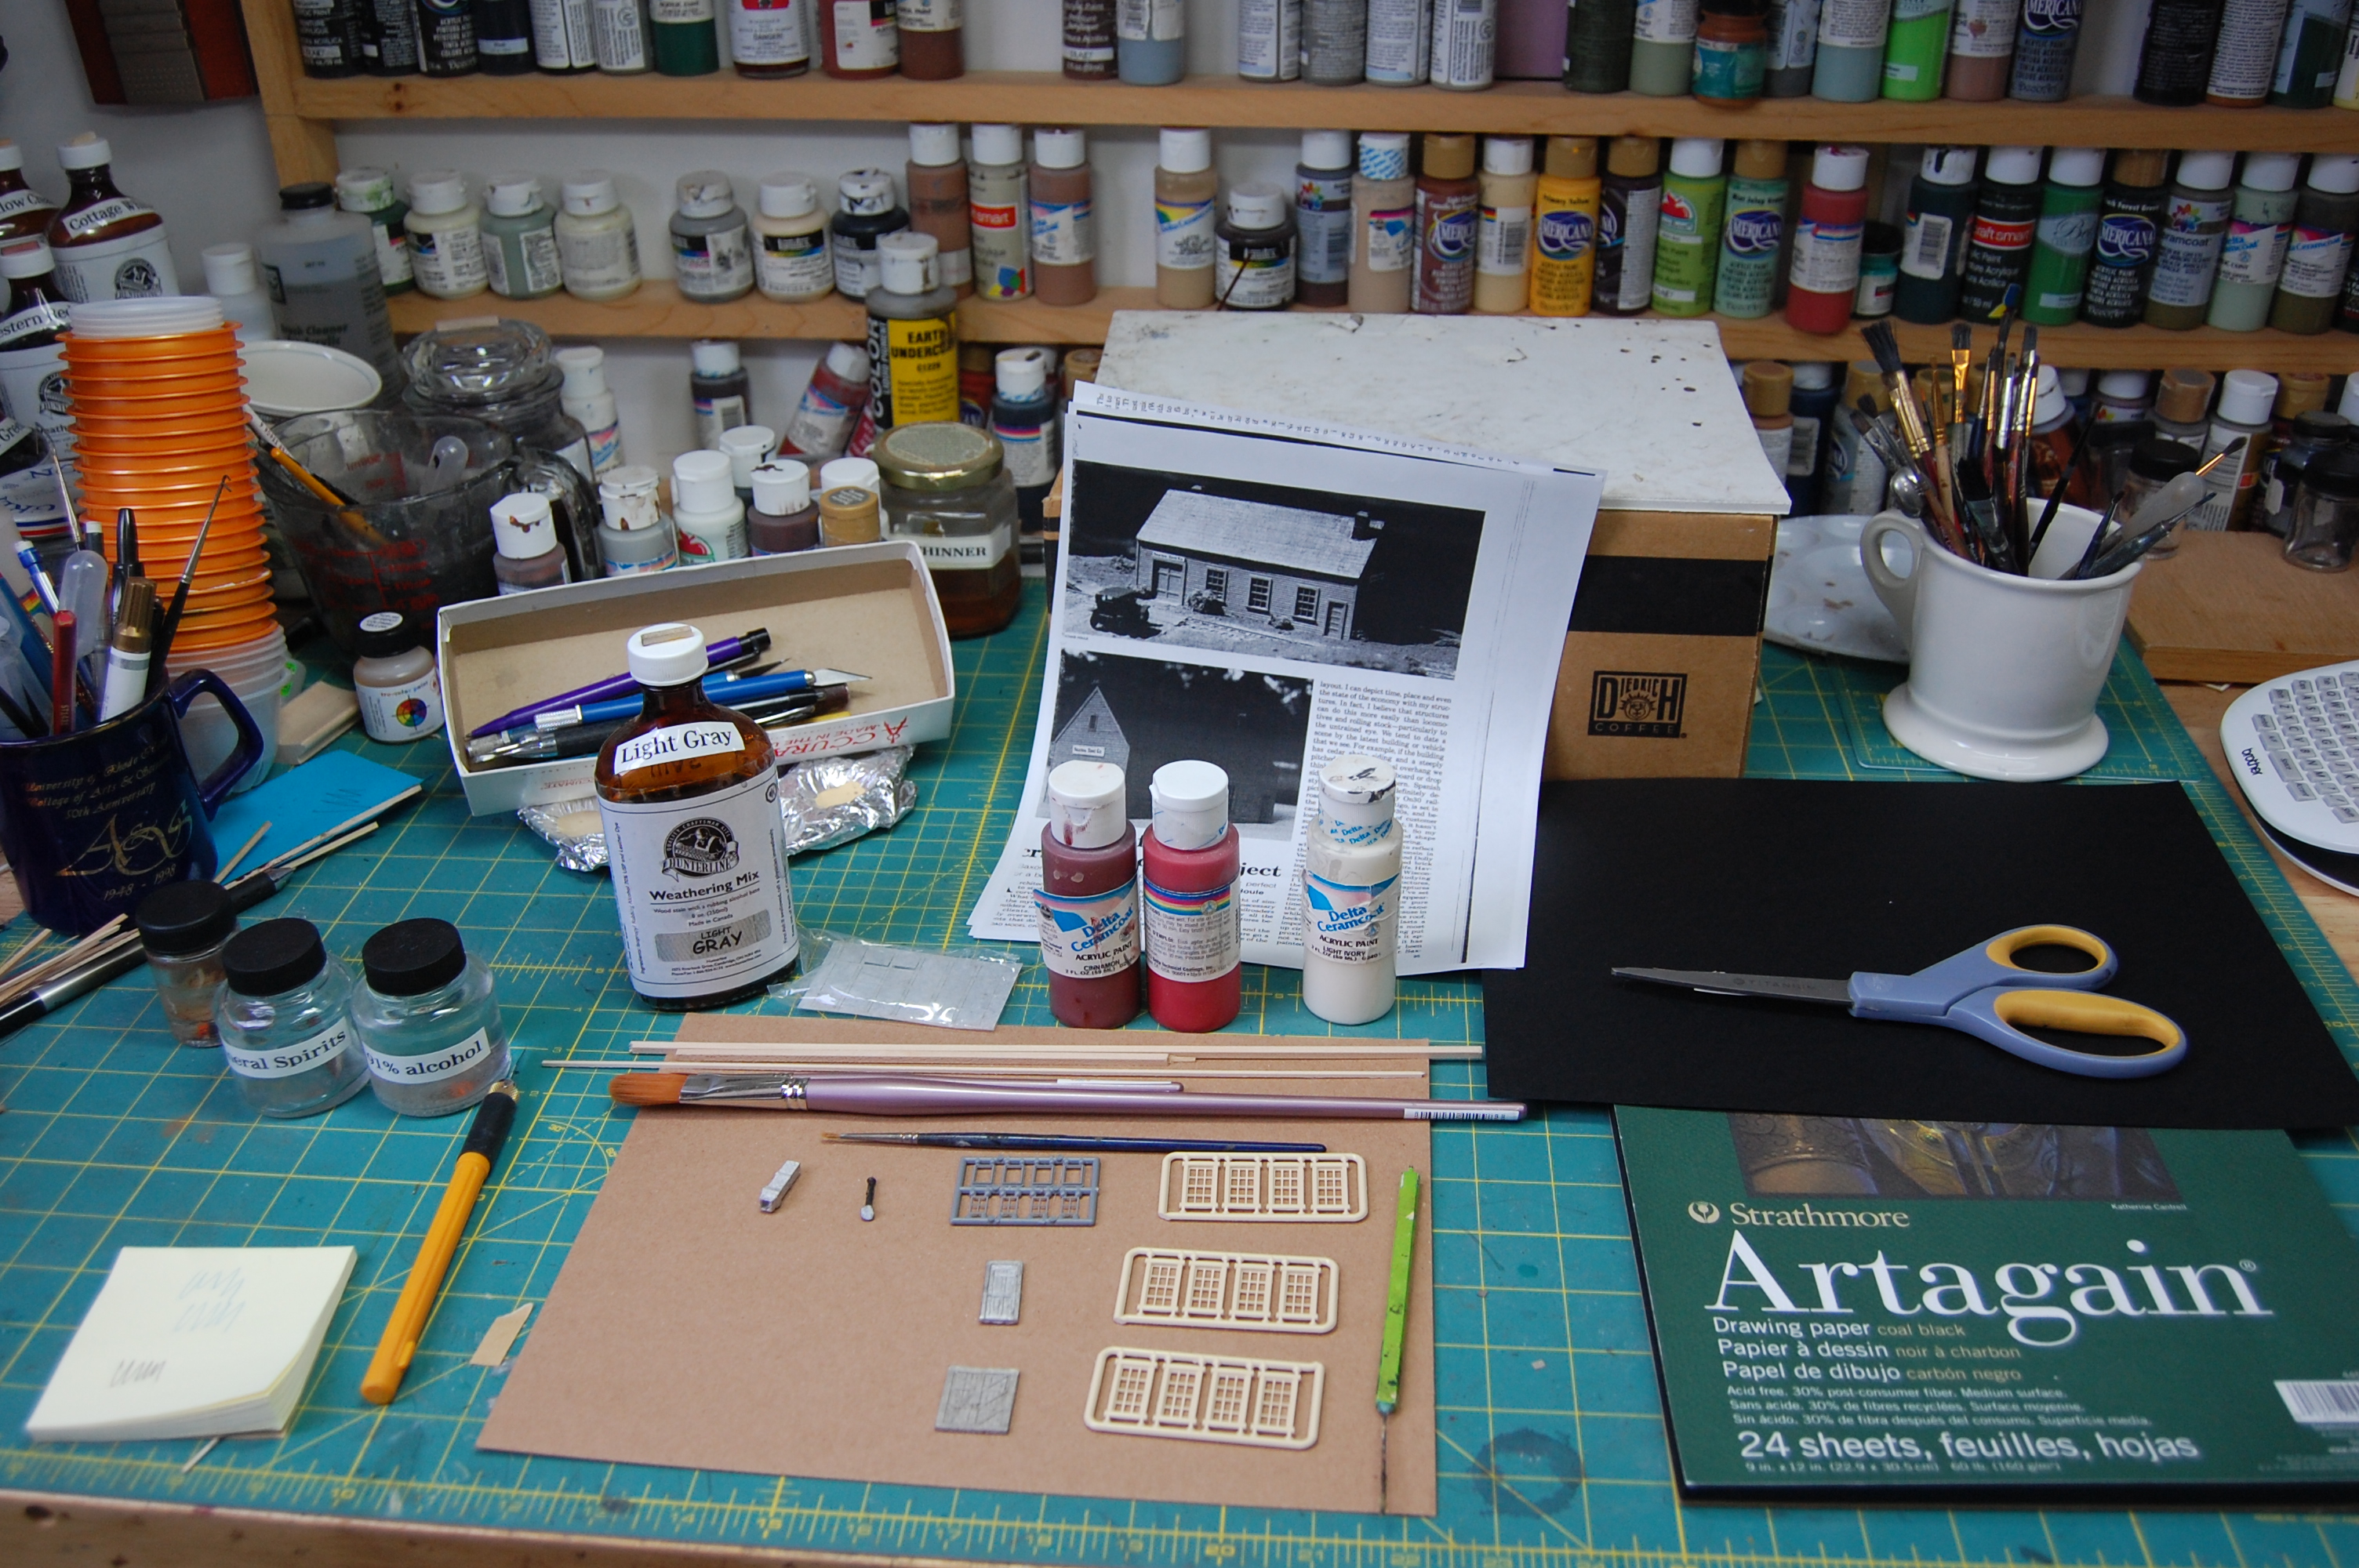
This photo shows the basic materials assembled: acrylic paints, some card stock (chip board, with a smooth side and a rough side), black Artagain pastel paper, a plan, and the usual hobby tools.
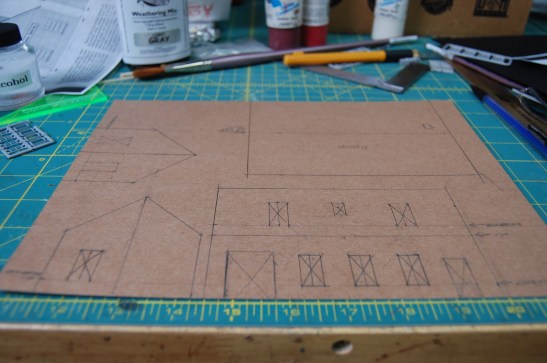
The next step is to lay out the plan (which was from Model Railroader) onto the chip board. Reverse the doors and windows to maintain the same layout if that is important. The photo at right shows how the entire building was laid out on one sheet. The windows are Northeastern windows, the doors are metal castings from the general box. Then cut the pieces out of the chipboard.
After you have fully laid out the four (or more) walls of your structure on one side of the
chipboard, the next step is to lay out lines (1/4 inch spacing) on the other 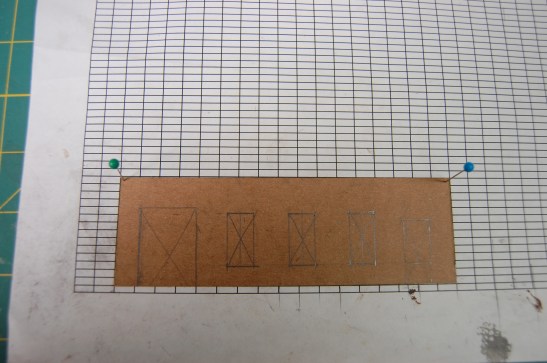 side. See the illustration. (The grid was printed using a box tool on a word processor) Make sure you are doing the siding on the opposite side of the chip board as the markings for the door and window openings. Do not cut out the openings until the siding is completed.
 side. See the illustration. (The grid was printed using a box tool on a word processor) Make sure you are doing the siding on the opposite side of the chip board as the markings for the door and window openings. Do not cut out the openings until the siding is completed.
 Next, pick out the colors for your siding. You need white and two others: a lighter and darker shade of the primary building color. This will be applied to the rough side of the pastel paper.
 This is the critical step. Using a larger size stippling brush (see the larger brush in the first photo) dip your brush into the dark, light, and white paint, in that order. Do not blend. Instead, stipple the paint onto the paper, taking care NOT to cover over all the black, and ensuring that there is SIGNIFICANT variation the colors. This is the opposite of how a lot of model railroading painting is done, but it works.
 The next step (after the sheet has dried) is to cut the paper into strips, either with a paper cutter, scissors, or whatever sharp objects you play with. Cut all the strips at once, so that you have a pile of strips (like you are getting ready for a ticker tape parade). Mix them up to ensure variation, then apply to the lined walls. For fixative you can use double sided tape (works great because there is no moisture) or your favorite glue.
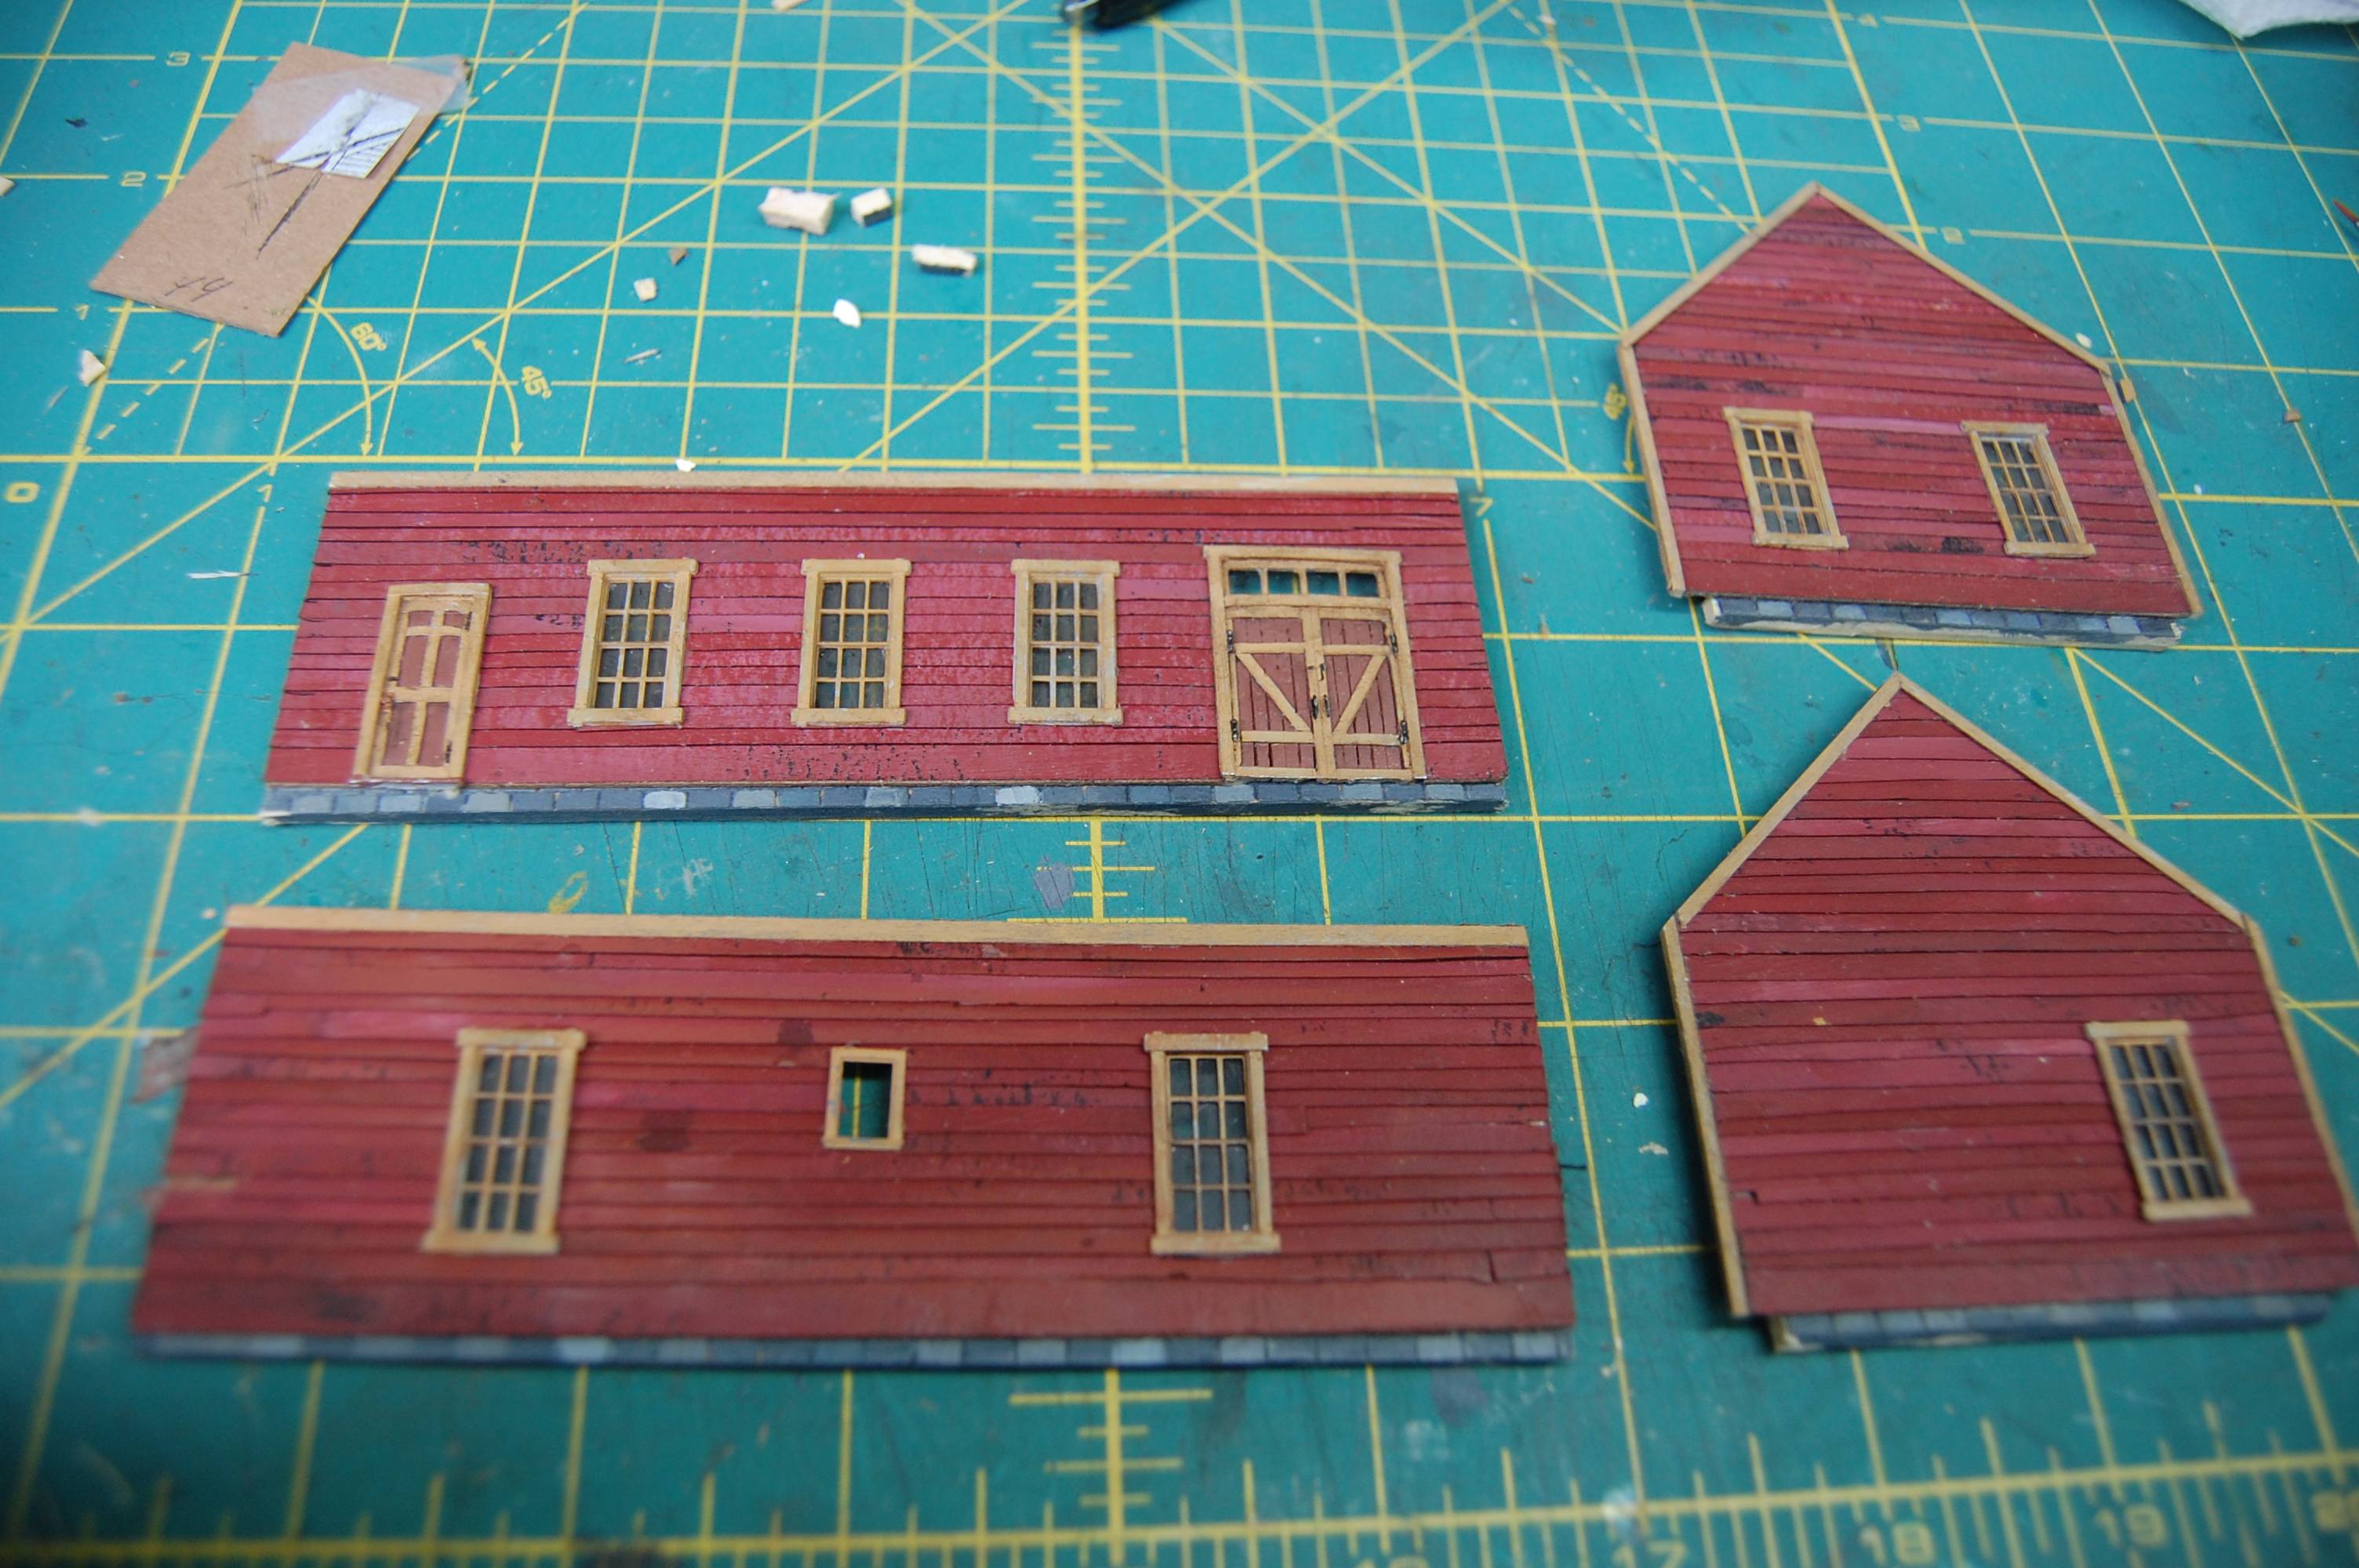
WARNING: if you are using water based paints, brace the walls in advance if you are using chipboard. If you decided to use some other foundation material (such as styrene) that does not warp, you do not need to do this. Overlap each row slightly to create a clapboard effect. The end result should look like this:

Notice that the windows are not cut out, we have papered right over them (if you have done this right, the openings are on the OTHER side of the board). You can now see why keeping some black in is important, as well as the value of differentiation of color in the painting.
The next steps are to prime and paint the castings, cut the window and door openings, and get everything ready for assembly. In the next photo I have prepped all the walls and added a recessed foundation using wood stone sheets from Monster Modelworks.
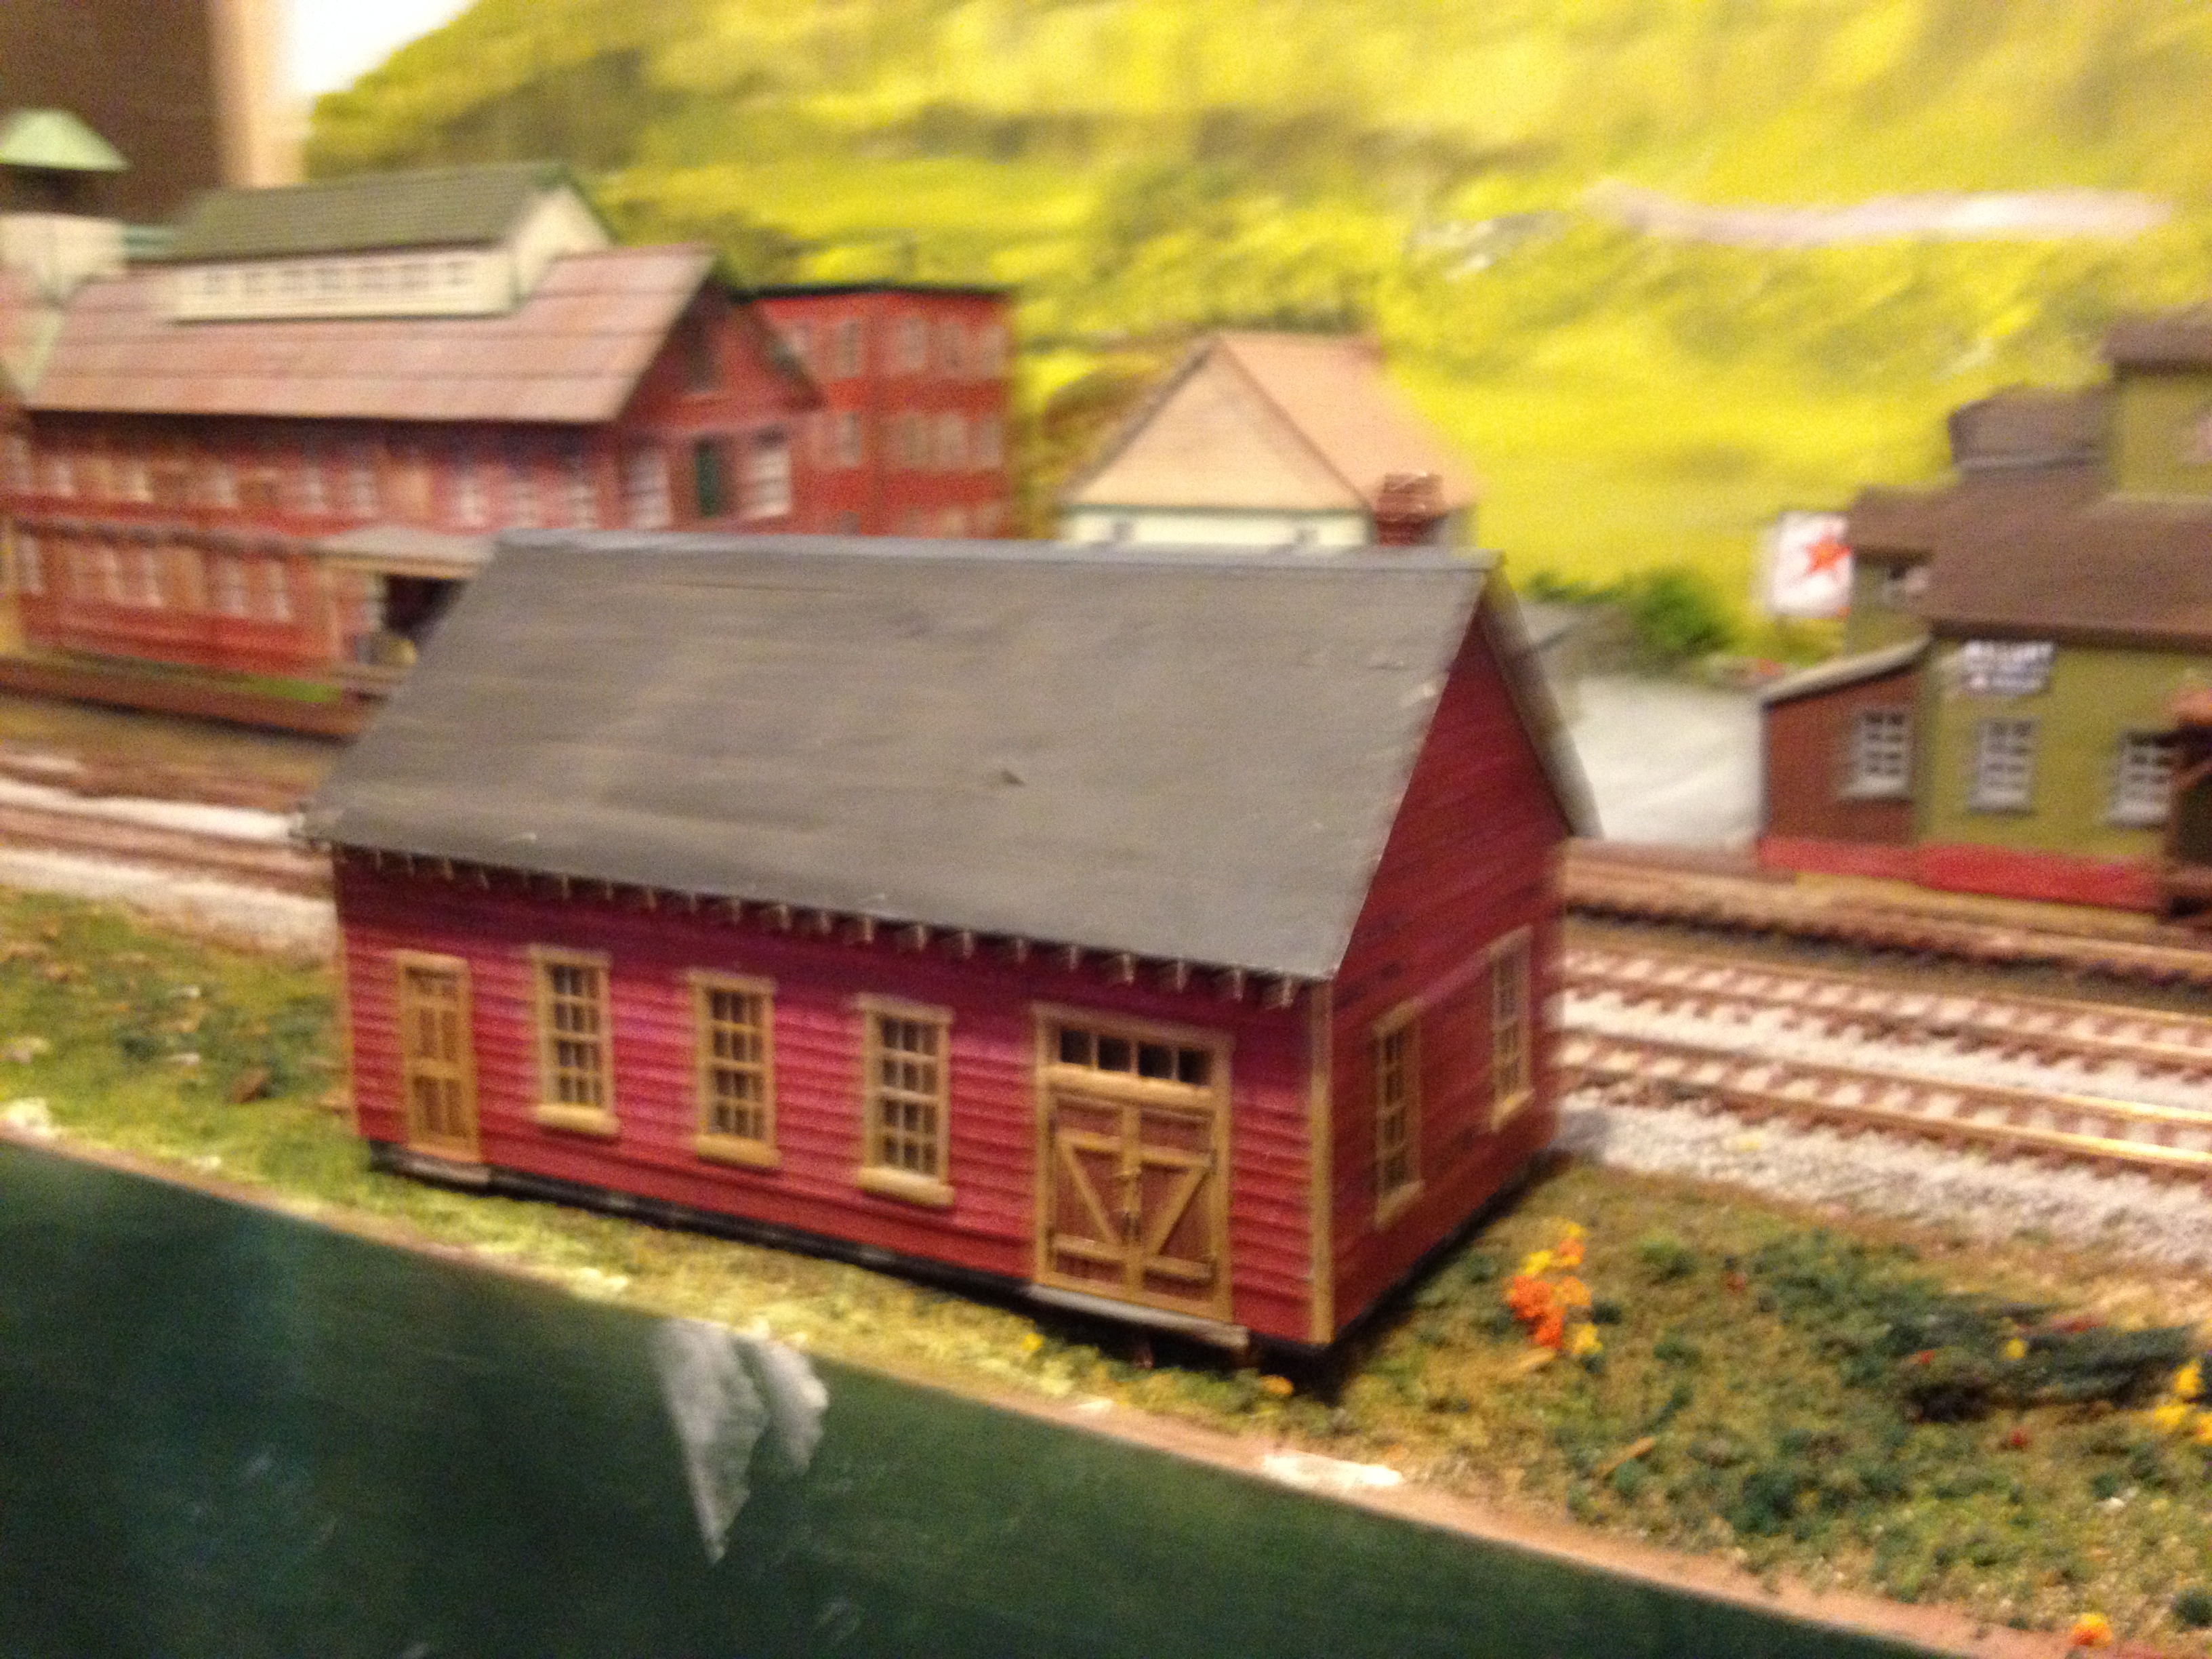
Assemble the sides, put your favorite roof on, and you have a card and paper building that probably cost you less than three dollars, not counting the castings.

Troels Kirk, a Swedish artist, developed the system. His railroad has been sold, but there are fantastic photos of the work he did, mostly in paper, here:
https://www.facebook.com/profile.php?id=100030755997045


